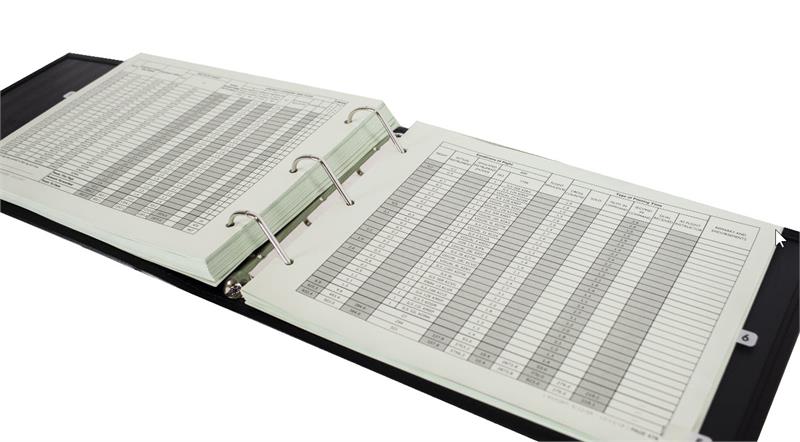
Updating your Logbook after Printing
One of our most frequently asked questions is “How do I update my logbook after it’s been printed? How to I add more time?” Whether we print your logbook, you do it yourself, or have it done by a printshop, there are times when you’ll need to update it, especially before an interview. Once printed, it’s a simple process to update it. The process we outline below ensures a clean outcome, without odd page breaks, blank pages, inconsistent page numbering and other not-so-attractive attributes.
We call this updating process a “bring-to-date.” To make this easy, you will generate a complete new file, save to PDF, but only physically print the new pages (beginning where you left off the last time). Steps are outlined below. Basically, if your old report stopped at page 276, you will back up one page and then print from page 275 to the end. Note: You must use the PDF page number at the top (e.g. page 275 of 290) as your reference. Ignore any page numbers generated by the software (such as those at the bottom of the page). They are not useful for this purpose.
Process for Logbook Bring-to-Date
For checking page numbers, use only the PDF page number (at top of file). These page numbers display as “Page 1 of 275.”
- Step 1: Open your printed binder and note the date of your last flight.
- Step 2. Open your software, choosing the same report style as before, and generate a report (prepare a complete report; do NOT enter a date range).
- Step 3: Save|Print|Export the file to PDF. (Note: The name of this function varies from program to program. For example, in Logbook Pro, it’s “Export to PDF” — on left the menu. In LogTen Pro, you click the “Save/Print to PDF” button.) Save your new PDF file to your desktop for easy retrieval.
- Step 4: Browse your desktop, locate file and open it. Search for that last entry as it appeared in your old printed report (e.g. page 276 of 312). Back up to the last FULL page (e.g. 275).
- Step 5: Print from the last full page through the end of the new file (e.g. 275 through 312). TIP: Always begin printing from an odd-numbered page using the PDF page numbers, NOT the page numbers in the footer.
- Step 6: If using pre-punched paper, expect the last page to have holes on the wrong side (duplex printers print the back of the paper first–which is blank–then the front). To adjust for this, print the last page s a solo page (“Print Current Page Only”). The holes will be oriented correctly.
Follow our 6-step process and you’ll find it’s easy to update your printed logbook. Keep it current.


